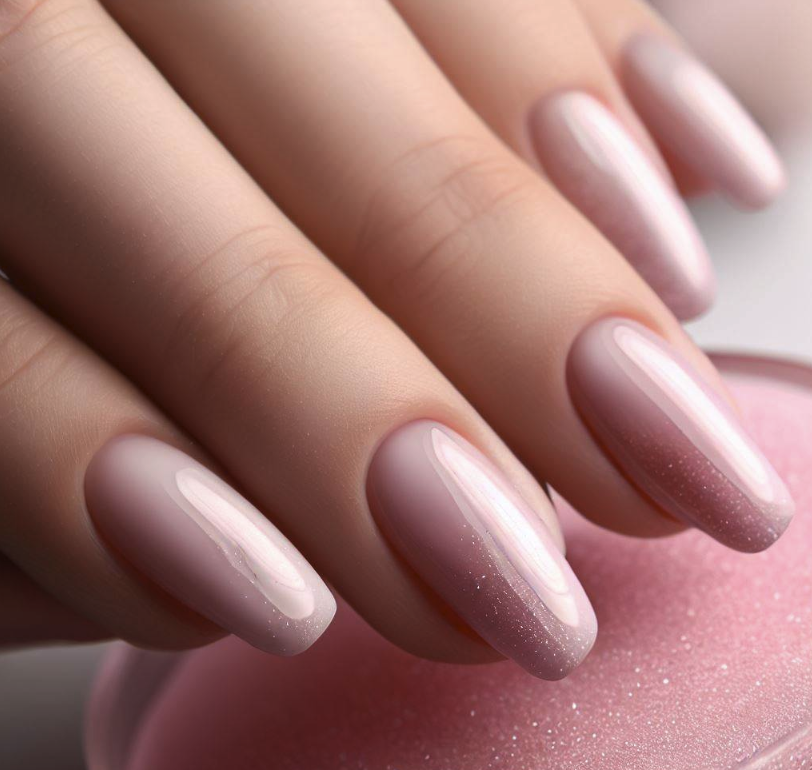
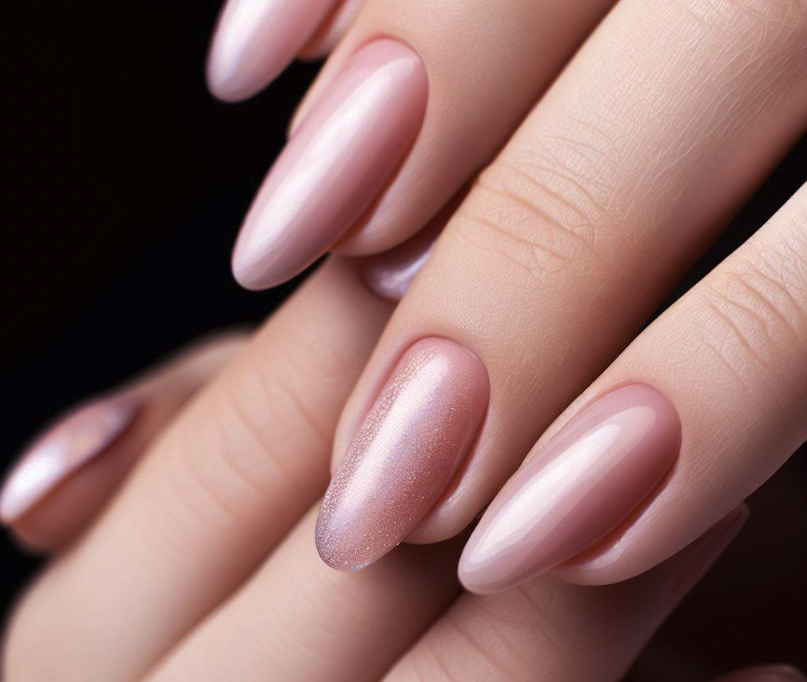
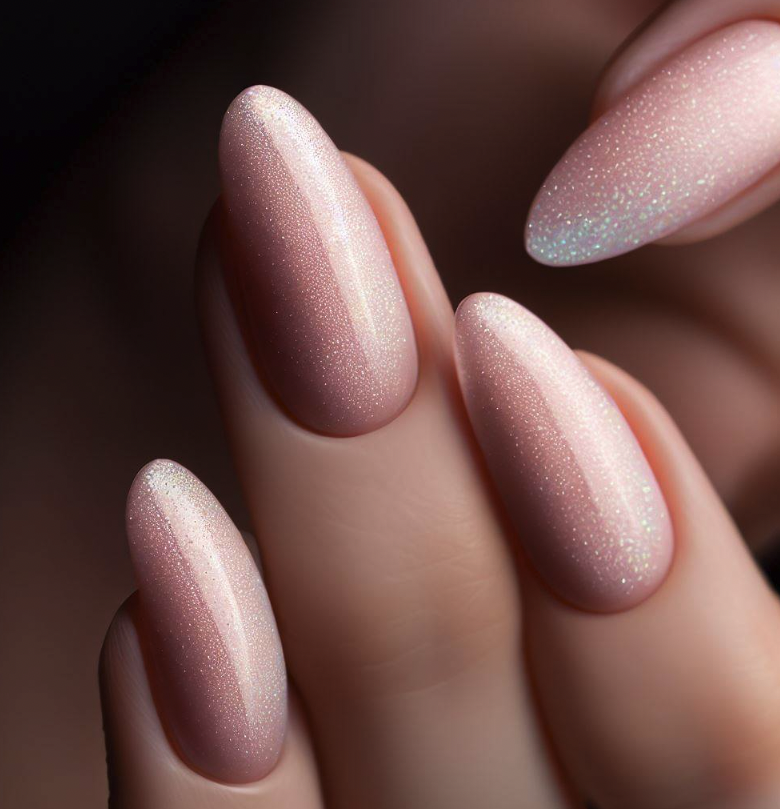
Dip powder nails, also known as SNS nails or powder manicures, have gained immense popularity in recent years.
This innovative nail enhancement technique offers a long-lasting and durable alternative to traditional acrylic or gel nails.
Unlike other methods that use liquid monomers and UV light to cure the nails, dip powder nails involve a simple dipping process that creates a strong and beautiful manicure.
The process of getting dip powder nails involves several steps.
First, a base coat is applied to the nails, followed by dipping them into a jar of colored powder.
This process is repeated a few times to build up the desired thickness and color intensity.
After the powder is applied, a sealant is brushed on to protect the nails and give them a glossy finish. The result is a set of stunning, chip-resistant nails that can last for weeks.
Advantages of Dip Powder Nails
Dip powder nails offer several advantages over other nail enhancement techniques:
- Durability: Dip powder nails are known for their exceptional durability. The powder formula creates a strong bond with the natural nail, making it less prone to chipping or breaking.
- Healthier for the nails: Unlike acrylic or gel nails, dip powder nails do not require the use of harsh chemicals or UV light. This makes them a healthier option for your natural nails.
- Quick and easy application: The process of applying dip powder nails is relatively quick and straightforward. It does not require any special skills or equipment, making it accessible to both professionals and DIY enthusiasts.
- Wide range of colors and designs: Dip powder nails come in a vast array of colors and finishes, allowing you to create endless nail art designs and styles.
- Long-lasting results: Dip powder nails can last up to four weeks without losing their shine or color vibrancy. This makes them an excellent choice for those who want a low-maintenance manicure.
How to Do Dip Powder Nails
While getting dip powder nails done at a salon is a popular option, it is also possible to achieve salon-quality results at home.
Here is a step-by-step guide on how to do dip powder nails:
Step 1: Prepare Your Nails
Start by removing any existing nail polish and shaping your nails to your desired length and shape.
Gently push back your cuticles using a cuticle pusher or an orangewood stick.
Step 2: Apply a Base Coat
Apply a thin layer of base coat to each nail, making sure to cover the entire surface.
Avoid getting the base coat on your cuticles or skin.
Let the base coat dry for a few seconds.
Step 3: Dip Your Nails
Take the jar of dip powder and carefully dip one finger into the powder at a 45-degree angle.
Gently tap off any excess powder and repeat the process for each nail. Make sure to work quickly to prevent the base coat from drying before dipping.
Step 4: Repeat the Dipping Process
Repeat the dipping process for each nail, applying a second coat of base coat and dipping it into the powder. This will help build up the thickness and intensity of the color. Tap off any excess powder and proceed to the next step.
Step 5: Apply a Sealant
Once you have achieved the desired color and thickness, apply a sealant or activator to each nail. This will help the powder harden and create a protective layer. Allow the sealant to dry for a few minutes.
Step 6: Shape and Buff
Using a nail file, shape your nails to your desired length and shape.
Gently buff the surface of the nails to smooth out any imperfections and create a smooth finish.
Step 7: Apply a Top Coat
Finish off your dip powder nails by applying a top coat to seal in the color and add shine.
Make sure to cover the entire surface of each nail and let the top coat dry completely.
With these simple steps, you can achieve salon-quality dip powder nails in the comfort of your own home.
💅🏼How to do Dip Powder for Beginners ✨ Nail Tutorial ⚬ Dip Powder 101 📚✅
Cute Dip Powder Nails
Dip powder nails offer endless possibilities for creating cute and stylish nail designs.
Here are some popular cute dip powder nail ideas:
- French Tips: Give your dip powder nails a classic and elegant look by opting for French tips. Choose a neutral base color and add white powder to the tips of your nails for a timeless manicure.
- Ombre Nails: Create a gradient effect on your dip powder nails by using two or more colors. Blend the colors together using a sponge or a brush to achieve a stunning ombre look.
- Glitter Nails: Add some sparkle to your dip powder nails by incorporating glitter. You can either mix glitter powder with the dip powder or apply it on top of the sealant for a dazzling effect.
- Nail Art: Get creative with nail art designs on your dip powder nails. From floral patterns to geometric shapes, the possibilities are endless. Use nail art brushes and tools to create intricate designs.
These cute dip powder nail ideas are sure to make a statement and add a touch of personality to your manicure.

Simple Designs for Dip Powder Nails
If you prefer a more minimalist and understated look, here are some simple designs for dip powder nails:
- Single Color: Opt for a single color dip powder manicure for a clean and polished look. Choose a color that complements your skin tone or matches your outfit.
- Color Block: Create a modern and chic look by painting each nail with a different color. Choose complementary or contrasting colors for a bold statement.
- Half-Moon Nails: Paint the bottom half of your nails with one color and leave the top half bare for a trendy half-moon design. You can also reverse the colors for a unique twist.
- Minimalist Nail Art: Keep it simple with minimalist nail art designs. Use thin lines, dots, or simple shapes to create a subtle yet stylish look.
These simple designs for dip powder nails are perfect for those who prefer a more low-key and effortless manicure.

How Much Do Dip Powder Nails Cost?
The cost of getting dip powder nails can vary depending on several factors, including the location, salon, and additional services.
On average, you can expect to pay between $30 and $50 or more for a full set of dip powder nails at a salon.
It is important to note that the initial cost of getting dip powder nails may be higher compared to traditional manicures.
However, the long-lasting nature of dip powder nails can make them a cost-effective option in the long run.
With proper care and maintenance, dip powder nails can last up to four weeks, eliminating the need for frequent salon visits.
If you prefer to do dip powder nails at home, the cost can be significantly lower.
A dip powder starter kit typically costs between $30 and $50 and includes all the necessary products for multiple applications.
This allows you to save money and enjoy the convenience of doing your own dip powder nails whenever you want.
How To ACTUALLY Do Dip Powder Nails
How Long Do Dip Powder Nails Last?
Dip powder nails are known for their longevity and durability. With proper care and maintenance, dip powder nails can last up to four weeks without losing their shine or color vibrancy.
Here are some tips to help extend the lifespan of your dip powder nails:
- Avoid excessive water exposure: Prolonged exposure to water can weaken the bond between the dip powder and the natural nail. Wear gloves when doing household chores or activities that involve water.
- Apply cuticle oil regularly: Keeping your cuticles moisturized can help prevent lifting and chipping of the dip powder. Apply cuticle oil daily to nourish and hydrate your nails.
- Avoid using your nails as tools: Using your dip powder nails to open cans or perform other tasks can cause them to chip or break. Use proper tools instead.
- Avoid harsh chemicals: Certain chemicals, such as household cleaners or acetone-based nail polish removers, can weaken the dip powder. Use gentle products and avoid soaking your nails in acetone for extended periods.
By following these tips and practicing proper nail care, you can enjoy beautiful and long-lasting dip powder nails.
How to Take Off Dip Powder Nails
When it comes time to remove your dip powder nails, it is essential to do it properly to avoid damaging your natural nails.
Here is a step-by-step guide on how to take off dip powder nails:
Step 1: Gather Your Supplies
You will need the following supplies:
- Acetone
- Cotton balls or pads
- Tin foil
- Orange sticks or cuticle pushers
- Nail file or buffer
Step 2: File the Top Coat
Using a nail file or buffer, gently file the top coat of the dip powder nails.
This will help break the seal and allow the acetone to penetrate the layers.
Step 3: Soak the Nails
Soak a cotton ball or pad in acetone and place it on top of each nail.
Wrap each finger with a small piece of tin foil to hold the cotton ball in place.
Leave the foil wraps on for about 10-15 minutes to allow the acetone to dissolve the dip powder.
Step 4: Remove the Foil Wraps
After 10-15 minutes, remove the foil wraps from each finger. Gently push off the softened dip powder using an orange stick or cuticle pusher. Be careful not to scrape or damage your natural nails.
Step 5: Clean and Moisturize
Once all the dip powder has been removed, wash your hands with soap and water to remove any residue.
Apply cuticle oil or a moisturizing hand cream to nourish and hydrate your nails.
It is important to note that acetone can be drying to the skin and nails.
If you have sensitive or dry nails, consider using a non-acetone nail polish remover or seek professional help to remove your dip powder nails.
Is Dip or Gel Better for Thin Nails?
When it comes to thin nails, both dip powder and gel can be suitable options.
However, there are a few factors to consider before deciding which one is better for you.
Dip powder
Dip powder manicures involve applying a base coat, dipping the nails into a pigmented powder, and then sealing it with a top coat.
Here are some considerations:
- Thickness: Dip powder tends to add more thickness to the nails compared to gel. If your nails are already thin, the added thickness of dip powder may make them appear bulkier.
- Strength: Dip powder manicures can provide added strength to thin nails, helping to prevent breakage and splitting.
- Application: Applying dip powder requires some skill and precision. It involves a multi-step process that may be more challenging for beginners.
Gel
Gel manicures involve applying several layers of gel polish and curing each layer under a UV or LED lamp.
Here are a few considerations:
- Thickness: Gel manicures tend to be thinner compared to dip powder. If you have thin nails, gel can provide a more natural look and feel.
- Flexibility: Gel polish has some flexibility, which can be beneficial for thin nails as it allows for a bit of give and reduces the chances of cracking or breaking.
- Application: Gel manicures are generally easier to apply, making them more beginner-friendly. They require less precision during the application process compared to dip powder.
Overall, the choice between dip powder and gel depends on your personal preferences and the condition of your nails.
If you’re unsure, we recommend consulting a professional nail technician who can assess your nails and provide guidance on the best option for you.
Conclusion
Dip powder nails offer a durable and long-lasting alternative to traditional acrylic or gel nails.
With their easy application process, wide range of colors and designs, and impressive longevity, dip powder nails have become a popular choice for those seeking a beautiful and low-maintenance manicure.
Whether you choose to get dip powder nails done at a salon or try your hand at doing them yourself, the results are sure to impress.
With proper care and maintenance, dip powder nails can provide weeks of chip-resistant shine and vibrant color.
So why not give dip powder nails a try and enjoy the benefits of this innovative nail enhancement technique?
FAQs
1. How long does it take to do dip powder nails?
The process of doing dip powder nails typically takes around 30-45 minutes, depending on the complexity of the design and the skill level of the person doing it.
2. Can I do dip powder nails at home?
Yes, dip powder nails can be done at home with the right tools and products. Many brands offer dip powder starter kits that include everything you need to get started.
3. Are dip powder nails damaging to the natural nails?
When done correctly and with proper removal, dip powder nails should not cause significant damage to the natural nails. However, improper application or removal can lead to nail damage, so it is important to follow the recommended techniques.
4. Can I apply nail polish on top of dip powder nails?
Yes, you can apply regular nail polish on top of dip powder nails. However, it is important to use a non-acetone nail polish remover when removing the polish to avoid damaging the dip powder.
5. Can I remove dip powder nails without acetone?
Acetone is the most effective and commonly used method for removing dip powder nails. However, if you prefer to avoid acetone, you can try using a non-acetone nail polish remover or seek professional help.
6. Can I refill dip powder nails?
Yes, dip powder nails can be refilled to maintain their appearance and prolong their lifespan. The refill process involves removing the sealant and a thin layer of the dip powder before reapplying the base coat and dipping the nails again.
7. Can I do dip powder nails on short nails?
Yes, dip powder nails can be done on short nails. The length of your natural nails does not affect the application process or the durability of the dip powder manicure.
8. How often should I get my dip powder nails redone?
Most people get their dip powder nails redone every 2-4 weeks, depending on how fast their natural nails grow and how well they maintain their manicure.
9. Can I remove dip powder nails myself?
Yes, you can remove dip powder nails yourself using acetone and the proper removal technique. However, if you are unsure or uncomfortable doing it yourself, it is recommended to seek professional help.
10. Are dip powder nails suitable for everyone?
Dip powder nails are generally suitable for most people. However, individuals with certain nail conditions or allergies may need to consult with a dermatologist or nail technician before getting dip powder nails.
11. Can I apply dip powder on natural nails without a base coat?
No, it is essential to apply a base coat before dipping your nails into the powder. The base coat helps create a strong bond between the natural nail and the dip powder, ensuring longevity and durability.
12. Can I use regular nail polish as a top coat for dip powder nails?
While it is possible to use regular nail polish as a top coat for dip powder nails, it may not provide the same level of protection and longevity as a dedicated dip powder top coat. It is recommended to use a top coat specifically designed for dip powder nails.
13. Can I do dip powder nails on toenails?
Yes, dip powder nails can be done on toenails as well. The process and application technique are the same as for fingernails.
14. Can I file or shape dip powder nails after they are done?
Yes, you can file or shape dip powder nails after they are done to achieve your desired length and shape. However, be careful not to file too aggressively, as it can weaken the structure of the nails.
15. Can I use regular nail polish remover to remove dip powder nails?
Regular nail polish remover is not effective in removing dip powder nails. Acetone-based nail polish removers specifically designed for gel or dip powder nails are recommended for proper removal.


